Create Real Estate Video Using AI (Nano Banana+Kling 2.6/Kling O1/Veo 3.1)
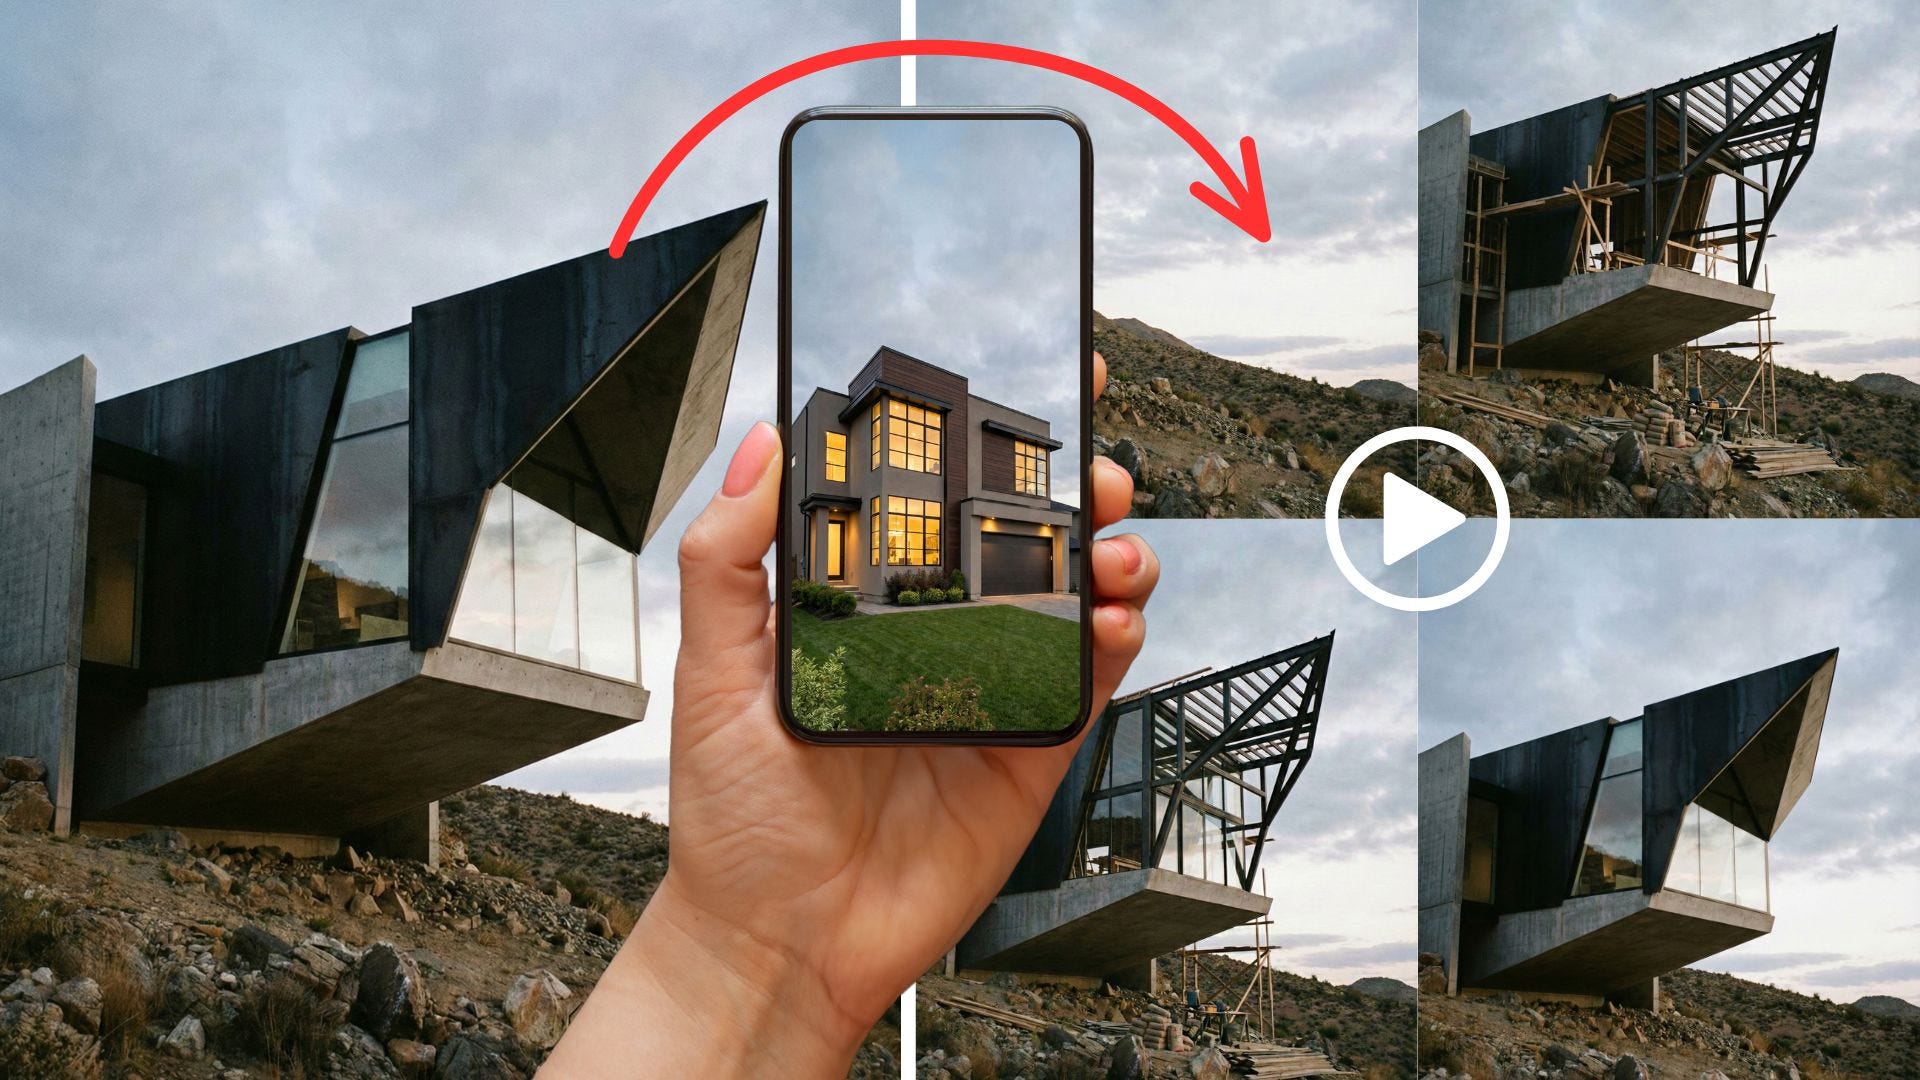
Here's a detailed guide on how to turn simple listing photos into a high-quality, multi-shot AI property explainer using AI image and video models.
If you are a realtor, you know how important a well-thought-out property listing is to drive traction and quickly find potential buyers. It doesn’t matter which platform you use because the algorithm is always going to favor content that keeps people on the screen longer. That usually means detailed captions and, more importantly, high-quality video.
The challenge is actually producing that video content. Sure, you could drive to every property, walk through with a gimbal, and spend hours editing footage, but that burns through time and money that most independent agents or solopreneurs simply don’t have.
The easier way to do it is with the help of AI. Tools like invideo can now turn your listing photos into high-quality and effective AI real estate videos using presets, AI agents, and various models.
Think of it as having the ability to create videos like this, but without having the need to record yourself. Sounds pretty cool, right?
In this article, I want to show you the process of creating a realtor video with AI using this stack.
Let’s get started.
Suppose you are trying to sell a property and want to get the listing up fast. You take out your phone and snap a quick picture of the house. Here’s an example of a house I generated with Flux Labs AI.
You post it online and wait. A few days pass, and you get nothing but crickets. No one looks twice, and the post eventually gets buried in the social media abyss because the algorithm flagged it as low-engagement content.
So, how exactly do you transform this boring photo into a high-quality realtor video with AI?
Let me show the step-by-step process.
Making a house construction effect
To make the video interesting, we are going to simulate the house being built from scratch. To do this, we need to work backward. We need to remove the house from the original picture to create our starting frame.
Head over to invideo’s image generator dashboard and select the Nano Banana Pro model. Upload your reference image and use this prompt to strip the house away while keeping the surroundings natural.
Prompt: Remove the house and give me an empty lot, keep the rest of the image the same
Adjust your aspect ratio to match your target platform and hit Generate. You should end up with a clean, empty lot that matches the lighting and angle of your original photo perfectly.
Perfect. Now that we have our “before” and “after” images, we need to bridge them. In the video generator dashboard, switch to the Kling Video O1 model.
You can experiment with different models depending on the look you want, but here is a quick breakdown of why you might choose one over the other:
Kling 2.6: Best photo‑to‑motion realism from stills; stable parallax and dolly moves for walkthroughs
Kling Video O1: Smoother cinematic pacing; strong for step‑by‑step “how‑to” beats and caption legibility
Veo 3.1: Premium lensing/lighting aesthetics, native audio, improved prompt adherence; ideal for hero openers and CTAs
For this guide, upload your empty lot as the start frame and the original house photo as the end frame. Set the video length to 10 seconds to give it enough time to breathe, and use the prompt below.
Prompt: Progressive house construction effect on empty land. Detailed parts coming together to form the house.
The result should look something like this:
Awesome. The result creates a seamless time-lapse effect where the timber and roof assemble themselves on the lot. This is a massive win for SMB owners producing content in-house because it adds a layer of production value that usually requires expensive CGI.
Making house interior transitions
You can take the video further by adding a property walkthrough to the inside portions of the house. For example, instead of just using a slideshow of the living room and kitchen, wouldn’t it be cooler if you could show a walkthrough video to the potential buyers?
You just need your standard interior photos. Here are the examples:
Using the same technique as the exterior, place your “Living Room” photo as the start frame and your “Kitchen” photo as the end frame in the Kling O1 model.
Here’s the sample prompt I used:
Prompt: A camera showing the door entrance, and then slowly goes into the living room. There should be no cuts in the video, and the camera acts like a drone. Make sure the door opens, and the camera maintains level.
Repeat this process for connecting other rooms. You have to be specific about the camera movement to sell the illusion of a continuous shot.
Prompt: A camera showing the living room, and it pans to the kitchen area. There should be no cut in the video, and the camera acts as if held by a cameraman.
Prompt: a camera showing the living room and it pans to the bedroom area. There should be no cut in the video and camera acts as if held by a cameraman. the bedroom is on the other side of the house so the cameraman should quickly turn back from the right side and open another door to show the bedroom.
Alright, I love how seamless the transition is between rooms. Now it’s time to turn it into an AI property explainer video.
Generating the voiceover
A video is dead on arrival without good audio. For the voiceover, we will use an audio model from ElevenLabs, but first, we need a script. You can write this yourself if you have a specific sales pitch, or just offload it to a chatbot like ChatGPT or Gemini to save time.
Here’s the prompt I used for this example video I am creating:
Generate a script for a 45 second explainer video that explains the house for sale.
This is for social media posting.
1-10 seconds: house being built from the ground
11-20 seconds: walkthrough from outside to the living room
21-35 seconds: showing living room to the kitchen and back to the living room
35-45 seconds: showing the living room to the bedroom
Give me a plain scriptHere’s the result:
“Watch this home come to life from the ground up, starting with a strong foundation and rising into a beautifully designed space built with care, quality, and attention to detail.”
“As we approach the front entrance, you’re welcomed by a clean, modern exterior that leads you smoothly inside and into a bright, open living room.”
“The living room flows effortlessly into the kitchen, creating an open layout that’s perfect for cooking, hosting, and spending time together, before guiding you back into a comfortable space to relax.”
“From the living room, step into the bedroom — a peaceful retreat designed for privacy, comfort, and a quiet place to unwind at the end of the day.”Head back to invideo’s media generator, switch to the Audio tab, and select ElevenLabs Text to Speech. Paste your script and pick a voice actor that matches the vibe of the property.
What you’ll get is a 40–45-second-long audio file in MP3 format.
Making an explainer video
Now comes the most enjoyable part: assembly.
Import all your AI-generated clips and your voiceover into your video editor of choice. In the screenshot below, I used CapCut because it’s fast and free, but you can use Premiere or DaVinci if you prefer. This is also the right time to slap your agency logo or contact info on the footage.
The final output gives you an incredibly realistic 45-second walkthrough that looks like it took days to shoot, despite just being a few photos stitched together by AI.
Here’s what the video looks like:
Just like that, we were able to turn a couple of boring photos into a high-quality explainer video in under 30 minutes.
Using invideo’s Architect preset
If the workflow above feels a bit too manual for a busy Tuesday, you can cheat by using a template. Invideo has an “Architect” preset that automates the prompt engineering and frame generation for you.
Here’s how it works:
Head over to invideo’s video generator dashboard and open the Agents & Models section. Under the Trends tab, click the Architect effect and choose a project to start creating a video.
The prompt field is pre-filled with the necessary instructions, so you don’t have to guess what to write. All you need to do is upload your reference photo and pick your aspect ratio.
Go with 16:9 if this is for YouTube or a website header, or stick to 9:16 for TikTok and Reels. Here’s the result:
This 8-second video is perfect for TikTok or Instagram Reels. You can also use it as part of the ingredients for a more complex video generation workflow like the previous example.
Frequently Asked Questions:
Who are the target users? This workflow is mainly for realtors, small real estate teams, and performance marketers. It is also great for SMB owners who want to produce listing content in-house but don’t have the budget to hire a full production crew.
How much does it actually cost? The example I showed in this article is part of my $35 per month subscription on invideo. If you break it down, a single 45-second AI video costs around 2 to 5 USD to generate. This is significantly cheaper than hiring professional editors or influencers to record and edit the footage for you.
How long does it take to make one? The 45-second realtor video example I shared in this post took me about 20 minutes to create from start to finish. Once you get used to the tools or set up an automation workflow, you can probably cut that time down to 10 minutes per video.
Do I need professional photos for this to work? You don’t need professional-grade photography, but you do need decent lighting and clear angles. The AI models like Kling and Veo rely heavily on the input image. If you feed it a dark or blurry photo, the resulting video will likely look distorted. Standard listing photos taken on a modern smartphone usually work fine.
Will the AI misrepresent the property? This is a valid concern. The “construction” effect is clearly stylized and just meant to grab attention. For the interior walkthroughs, the AI stays pretty true to the original photo, but it might “hallucinate” small details in the transition areas. It is always a good practice to add a small “AI-enhanced” caption so you manage buyer expectations.
That is pretty much it. I hope this guide helps you get more eyes on your next property listing. The examples I showed here are just a small part of what you can actually do with the Agents and Models inside invideo. You should definitely explore the platform yourself to find the specific workflows that fit your style.
If you have questions about the prompts or want to share your own results, just drop a comment below. I would love to hear what you come up with.
Hi there! Thanks for making it to the end of this post! My name is Jim, and I’m an AI enthusiast passionate about exploring the latest news, guides, and insights in the world of generative AI. If you’ve enjoyed this content and would like to support my work, consider becoming a paid subscriber. Your support means a lot!


